Thursday, 16 May 2019

Eco Printing Ink


Squeezy showing ink consistency.

Mini screen used for fabric swatches for eco ink developments.

            Ecology Evolution 

A brief section taken from my journal to explain some of the project concerns and issues I have been developing as part of my dissemination review.


The eco ink I have been developing needs a bit more developing. On small prints it works great on larger areas it tends to fade in areas. Therefore it’s not as coherent as I would expect. The up side to this is that it may well be a consistency problem which is easily fixed, more seaweed extract when being made. It could do with being less runny, it would make printing easier as well. I have added made two fade as part of the wearing scheme for this product as is the case for indigo denim jeans, wearing and fading is part of the products nature.

Indigo eco ink print ,hand made ink.


eco ink showing printing errors, rippling of fabric

Slightly un even, could be that the fabric was a bit creased more weight could have been used. However a thicker consistency of ink may well correct this problem.
The current alternative would be to buy eco printing ink and process designs this way until a better hand made ink is finalised. 

Eco ink purchased on line.
Eco ink which I have purchased as an alternative currently while I develop my own printing ink to a standard that would work on larger prints.

Undyed linen sample showing faded out effect of dye.

3 machine washes, this has faded the most likely due to the weave.

Calico 3 washes has stayed fixed the best out of all the samples.


Linen Tote bag

Linen tote bag small with pom poms.
 lining onside panels needs dark pattern extended.
undyed calico Tote bag.


Large linen tote bag.

Inside I have printed carbon footprint fabric. The side panels would need to have a longer strip of dark repeat due to the 3d element of the design requiring more repeat so that it follows the same length to create a straight line of print instead of it staggering .


Commercial wall papers.
Commercial wall papers for promoting the protection of Antarctica.

Commercial wall paper to create a value in regard to green issues and how to make a difference to protect Antartica by reducing climate change by changing life styles to encourage the reduction in single use plastics and other reducing and saving measures within individual lives.
These wall papers are designed for campaign office for climate change, libraries, schools colleges, universities and retail outlets ie coffee shops and cinemas.
The wall papers could also be used in marketing campaigns to promote eco evo products.
Carbon footprint wall paper


Thursday, 9 May 2019

Lazer Cutting

Laser Cutting upcycled leather A4 size sheets to add information on tote bag design.
Using the words Eco Evo (Ecology Evolution), Eco ink representing the eco hand made ink that has been used on the product.
And M2 Fade( made to fade ) introducing the consumer to a deeper meaning of the product and how it is made.

This label has a natural error through the process which adds a patined effect, worn and weathered which is the look I’m looking for for this design.
The colours to be printed are navy , black, biscuits.
The laser machine is very technical and a technician is needed for this job.The image below shows the laser bed which is approx A4 insize
up cycled leather swatches.
Laser bed with leather before cutting.

Computer needs the soft ware Coral for this machine.
Leather needs to be laid flat and put into place.This machine needs to be watched throughout production and needs to be stopped if it gets to smoky.
Up cycled leather from an old leather colour swatch book possibly for leather upholstery.
Leather tags.

Completed leather tags for tote bag.These could do with pressing to flatten them. The heat from the laser cutter has heated up the leather and shrunk areas when printing.

Friday, 3 May 2019

Preparing MA hand in 20th May 2019


The beginning of my final hand in box, I’m using an ecru fabric box. I have a number of fabric swatches, wall Muriel remaining to add is a tote bag, maybe a smaller tote and a different colour way. I will try packaging tote with a paper wrap around. Needed to complete some wallpapers to match fabrics, also need to test inks that I have made onto swatch fabric.

Tote Bag Fabrics and colourways


Ecru calico fabric swatches

Linen fabric searches for Tote bag. Indigo navy/ white. Natural undyed linen/indigo nsvy .
Sample of completed tote bag.

Indigo tote bag front image.

Back of your printed message to encourage people to use less single use plastics.
Hand made Pom Poms


Detail on tote bag, up cycled penny, cotton pom poms and leather tags.

I have made my pom poms by hand using a traditional method using cotton yarn and wool. Crocheting a strap and crocheting poms together linking to tote bag using a small gold clasp and loops. These loops need to be soldered as I have test worn a tote bag and the metal loops stretch out and poms fall off, its the same with the old pennies.

Tuesday, 30 April 2019

Making inks: Extract from Art Journal

Making organic screen printing inks

Ingredients
Boiled water 1 lt
Sodium Alginate SH
Coconut oil
Liquid latex
Urea
Pigments for colour
Clove essential oil

Equipment needed. I chose to do this outside to prevent fumes affecting me.


Mixing and heating up screen ink. The first batch I made was too thin. When adding the sodium Alginate
You need quite a lot, however it needs to be sprinkled in very slowly for quite a while. I used a coffee whisker to help which I need to put new batteries in.
So it needs a few teaspoons to make it thick, not too sure if I will need to make more even thicker.
Add a drop of clove essence to stop the ink going off, also you need a gram of urea for every 250 ml you make. Adding the liquid latex last. Needing about 50/ 50 of alginate binder to 50 latex. This might change it depends how it prints.
I will add pigment dissolved in hot water 1 teaspoon 50/50 amount. Woad/Indigo pigment.

Indigo and Woad pigment for dying and ink making.

Ancient Japanese Lino ink recipe.


Considering health and safety when using natural oigments that can harm skin, eyes and lungs. Wear the right equipment.

Equipment and materials 
Pigment for colour.
Gin
Natural starch adhesive.
Magnesium Carbinate to thicken
Spatula knife to mix ink.
Gloves, goggles, mask.

This is used to thicken ink so it spreads better and sticks to lino. In ancient times it wood have been a wood cut that the ink was being applied too.


Recipe for Moku Hanga ink. Ancient Japanese ink.

Inks 

Screen printing inks from the university print room.

Ink used from print room, this ink is not eco conscious. I have made my base and I am going to replicate the colour by using indigo pigment.
Japanese Moluccan Hanga ink

This ink is an ancient recipe using non toxic ingredients which links to the green approach to designing and making.
It’s very simple to make mixing pigment 50/50 with gin and adding 1/2 teaspoons of Nori paste again an organic glue. Also one teaspoon of magnesium carbonate which is a bit dangerous if it gets on your eyes and also breathing in. Therefore goggles gloves and a mask are best used when mixing. I also worked outside were there was plenty of fresh air.
The texture of this ink needs more development.


Printed ink.
Ingredients for Japanese ancient ink.

                                        Shopping locally for ingredients helps with the reduction of climate change.
The Japanese ancient ink recipe.

This shows the consistency of the ink.
Lino inked for printing.
The ink is not sticking to the laminate as it should.
Print using Moku Hanga ink.
Evaluation.
The ink I have made has a good consistency, however when it is rolled onto the man made Lino it isn’t rolling out well. My conclusion is that this isn’t working as well as I would like it too.
More development in this area would be needed, however I might be able to block print these using my screen printing ink?

Sunday, 14 April 2019

Botanical Inks :Design Journal :Foreword

                                                                              
                                                                     1

Green Issues

 In Design


Fez, Morocco. Ancient dye baths and traditions still being carried out today


Ecology Evolution : Foreword

A brief review of Design Journal.

I have always been interested in the re-emerging systems of local manufacturers and locally sourced materials, sourcing natural plant dyes from the landscape intrigued me. I set out to research the subject of natural dying, knowing through my knitwear career the historical values of earthy colours and the natural colours syrupy plant dyes can create.
Wishing to avoid synthetic chemicals dyes and having knowledge through my grandfathers occupation as an industrial chemist dyeing fabrics for Coutaulds. While growing up he taught me how to dye from nature as a child by adding this process into my childhood play(dyeing mini hanker-chiefs for the fairies and small animals in his garden for me).My grandfather was eventually awarded for his sustainable dye practices by the WWF (world wide life foundation).

Making inks from natural materials was the main process for removing synthetic materials from my printing project and proved to be the most sustainable way to design compared to the other processes I tested within the five test projects trails within my  brief.
I set out to initially create my own dyes, then I developed my own inks for screen printing. One book that I used for most of my knowledge was botanical inks by Babs Behan, more details of my practical processes can be found on my blog ’naturesarmour.blogspot.com’
Developing my printed ink for screen printing was developed from an online makers video clip, this and my testing organic printed ink for printing can be viewed via (Appendix.V)


Drawing ink using plant pigment.

After using a dye bath for dying fabric swatches I boiled down the remaining residue in order to make a drawing ink.
I used 2 tsp of plant pigment, 2 tsp of gum Arabic , 1 tsp of vinegar and 1 tsp of salt.
Return to heat and simmer to get a thicker consistency.
writing ink developed through natural plant pigments.

My first attempt at drawing ink, it worked better with a paint brush was a bit drippy using a ink pen (traditional calligraphy pen).

Natural dyes using Hunting and Gathering technique.


Potentially dying fabrics using natural resources is a eco conscious sustainable process that has been done for centuries and centuries. Removing chemical compound dyes from the system is a good way to help the natural earth combat environmental damage.
I have started the process of creating my own dyes and solutions to create natural colours from the environment and what would potentially be wasted, can be used to create great colours.
Rhubarb leaf for mordants and dyes.
Rhubarb leafs make great mordants for animal fibres and can also be used as a colour modifier.
Chopped Rhubarb leaf for boiling.
                              Chopped Rhubarb leafs before cooking in water for 1 hour.
Rhubarb solution for mordant and dye.
Mordant solution created.
Avocado dye bath
Avocado pip dye bath boiled for 1 hour before adding fabric.
Avocado fabric swatch dye.

Fabric swatches dyes using avocado pip.

Iron Water is useful to use as a Mordant it fix’s vegetable fibre and can also brighten colour tones when dyeing fabric.
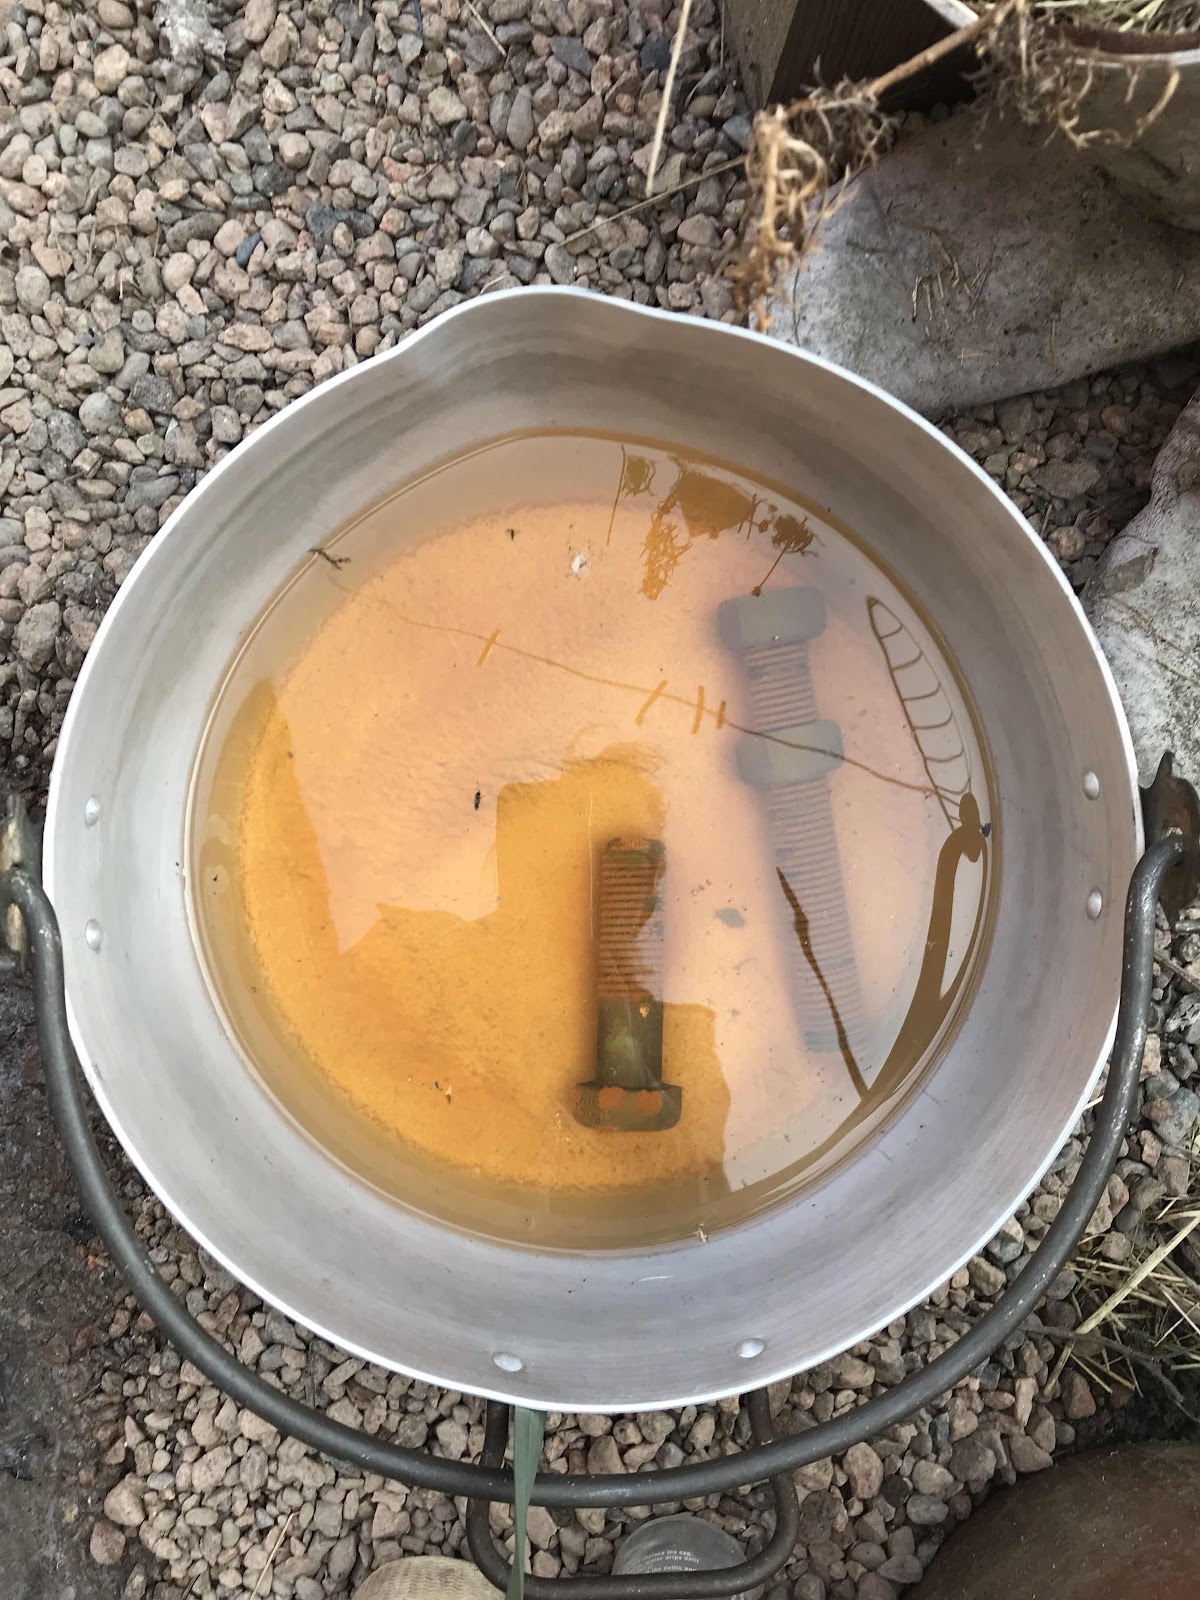
Mordant Iron water.
Old nuts and blots can create a great mordant for fabric dying.

Wild Nettle
Hunting and gathering from your local surroundings is a great way to dye your own fabrics. Try not to pull up the roots, using scissors and gloves cut 3/4 leafs down from the top.
You need 200% more than the dry weight of your fabric. I have cut 100 grams of nettle add boiling water to nettles and add up with warm water. Leave in water for 1-2 days use a suitable mordant for your fabric. 

Wild nettle chopped for boiling.
Chopped Nettle.Sock in water for 1-2 days to soak out the natural dye.

After 2 days in water, drain plant material to reveal deep green almost black dye solution.
Nettle dye solution.


 Use a Rhubarb mordant for animal fibre .
ie silk or wool.
Silk soaking in Rhubarb mordant before dying.

Cotton woven squares soaking in Rhubarb mordant, soak for a few hours of over night. Wash in Ph balanced un perfumed soap.
Blackberry dye
Using a small bag of blackberries boil in water for 1 hour, drain into a jar throw away pulp(mash berries when cooking). Add pre wetted, pre mordent fabric. Boil for 1 hour for strongest colour less for lighter colour. Use one part fabric to one part dye amount, making sure you cover fabric.
blackberry dye bath.

Hot dye bath simmer for one hour Blackberry.
Blackberry dye swatches/Cotton.
                         Dye samples in Cotton using Oakgall mordant and blackberry dye bath.
Blackberry dyed swatches on silk. Rhubarb dye silk sample on right.
Silk samples dyed in blackberry dye and one dyed in Rhubarb which is also used as a mordant.
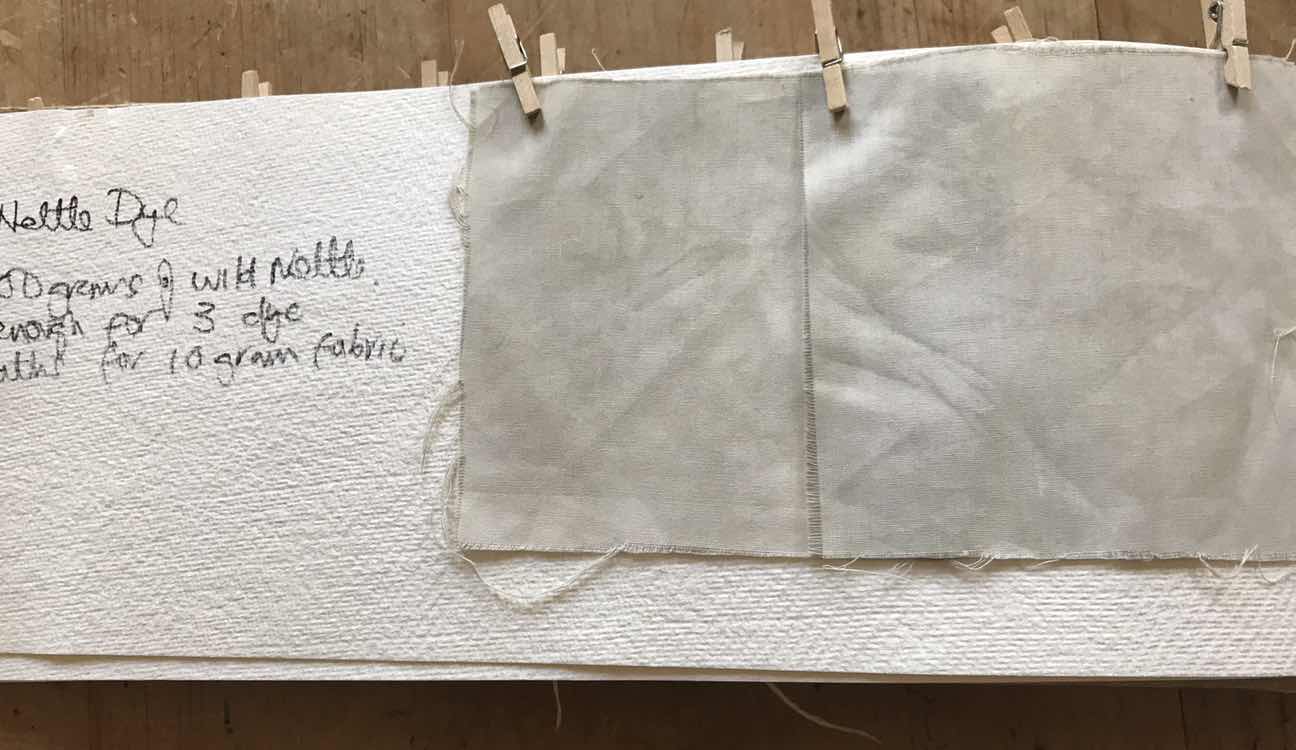
Nettle dye samples on Cotton.
Nettle dye.
Nettle dye on silk.
                           Nettle dye onto silk with Rhubarb mordant added before dye bath.
Up cycled coffee bean dyed fabrics.

Left over used coffee granules from natural coffee bean. Pre mordant oak gall on the cotton swatches on the right. Silk swatch on the left using pre mordant rhubarb leaf.
Indigo dye fabric swatches.
Woad dye bath used in ancient celt and saxon culture to dye fabrics and paint warriors faces before battles. It comes from a locally found natural forna.

Indigo dye.
Indigo vat dye is different to most dye vats as it is not soluble in water, it needs some chemistry to allow the pigment to attach to the fabric. The oxygen in the water needs to be removed using slaked lime (Calcium Hydroxide. Using gloves, goggles and mask is needed for safety reasons.)
Equipment and materials.
Equipment and ingredients needed for indigo dyeing.

Indigo dye vats take a long time to prepare. Indigo does not naturally dissolve in water. A chemical reaction is required to remove the oxygen which allows the indigo to fix to fabrics. In ancient times this was done through fermentation which took weeks to work. Indigo also does not work well when heated directly so a bam baree must be used.
preparations for dying indigo.
                                       Bam baree should be used when heating indigo.
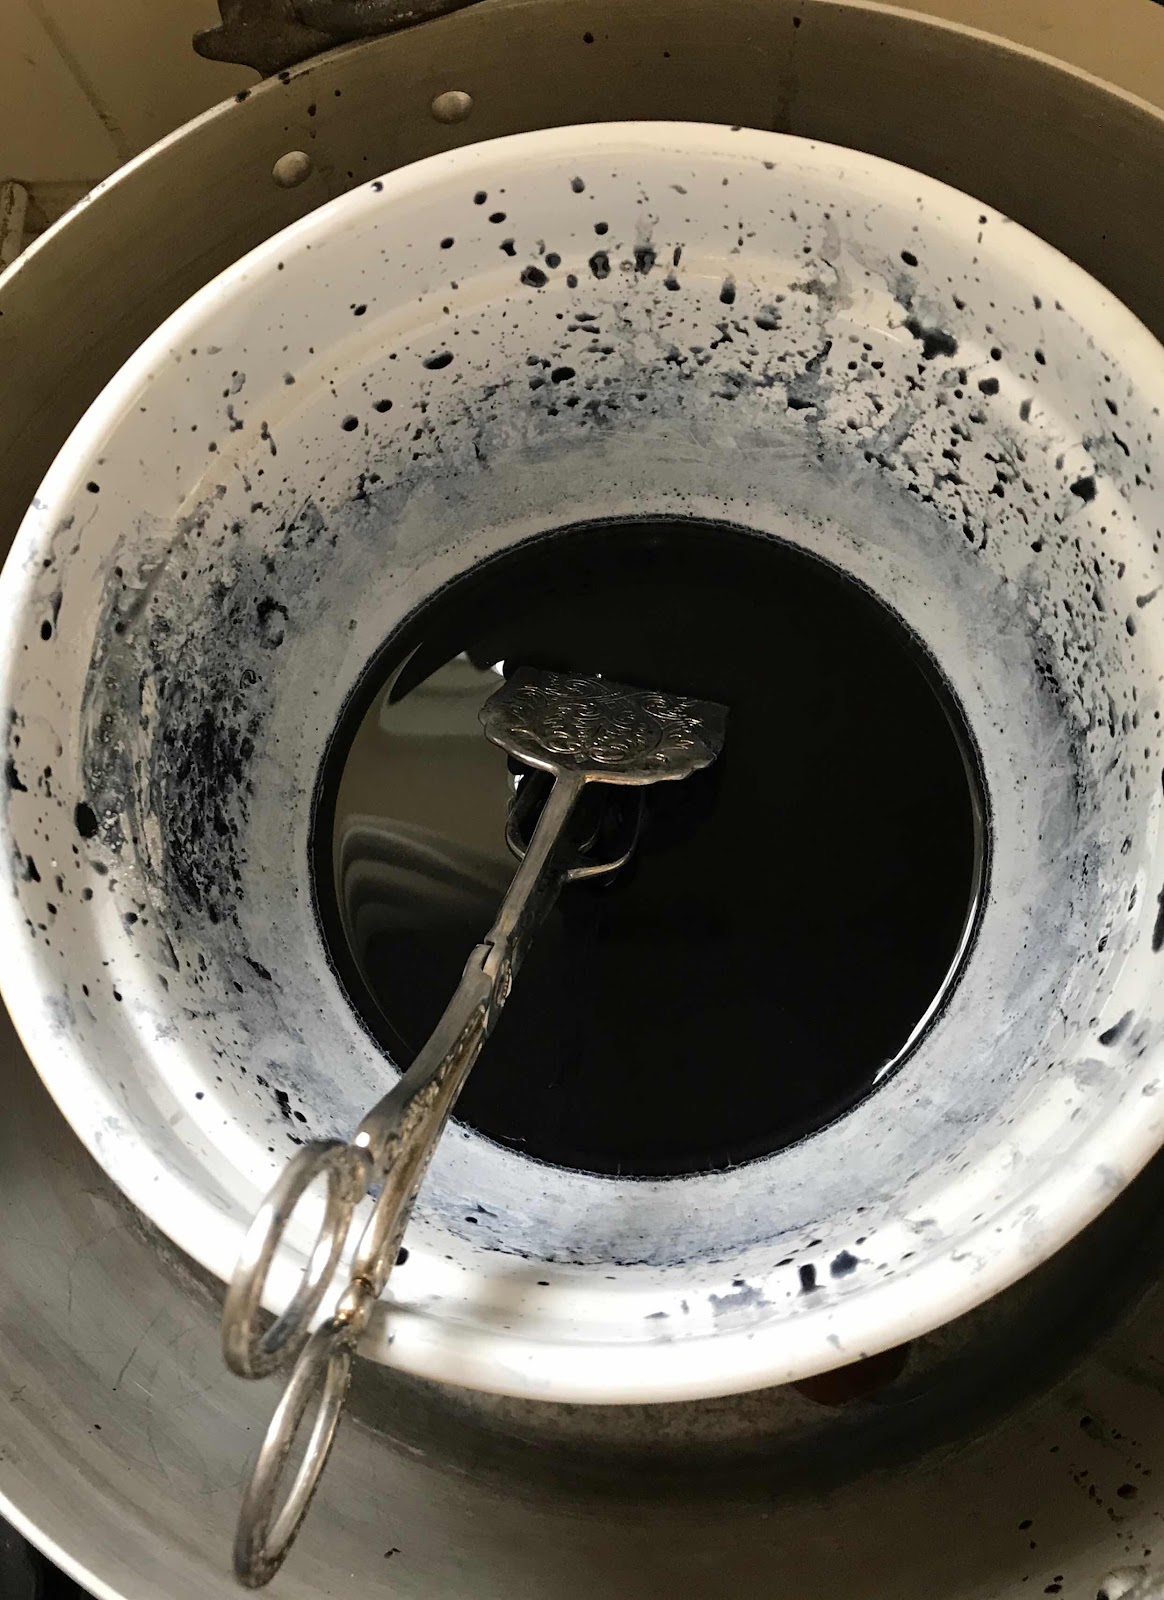
Indigo dye bath.
I used my own version of fructose syrup as I found it difficult to purchase.The vat should go a green colour when the oxygen leaves the liquid which helps with the pigment fixing to the fabric. I think I could do with buying some fructose and doing another vat test the results.(Another name for fructose is fruit sugar)
Indigo dye swatch results.

                                                            One dip in vat results.

Indigo dye on raw silk and cotton.
3 dips in vat using silk on the left and cotton on the right. There is some blotching visible which could have something to do with my version of fructose. The vat should have gone a green colour and it didn’t. The answer is to do another dye bath using proper fruit sugar.


Vinterior redesign up-cycle furniture

When researching how to up date furniture I decided to venture into the area having realised my own furniture needed updating. While searchi...